How to Unlock Formkit Multistep forms on a Laravel Inertia app with Vue 3

Formkit is a supercharger for developing applications on the already turbo platform of Laravel Inertia with Vue 3. It is a library of ready made components for building forms that make it very easy to construct any kind of form for retrieving user input. One of the features of this library that stood out the most for me was the Multi-Step forms.
Multi-Step Forms
So what is a multi-step form?
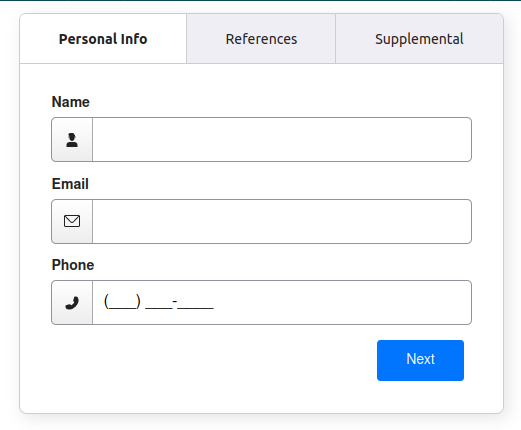
It is a format that breaks the usual monotony of filling out a form for the user. It splits the form into smaller form-lets that helps to give a much nicer UX because they’re not faced with such a huge list of questions all at once. The multi-step form can be split and navigated by tabs or a progress-map that resembles a London Underground map 😍
So as developers, we want to provide this kind of experience for our application users. Formkit is a very well provided for library with extensive documentation for it’s implementation into a standard Vue 3 project, but when I tried to put it into a Laravel Inertia app using Vue 3, it needed a little thinking outside of the dox.
Installing Formkit
What do the docs say?
Here you can check the Vue specific docs for the initial Formkit installation. They are nice and straightforward, but following these to the letter does not give us the desired result.
We will install with npm:
npm install @formkit/vue
The slight difference for Inertia
Now to get it working in our case, we need to have our app.js looking like this:
import './bootstrap';
import '../css/app.css';

import { createApp, h } from 'vue';
import { createInertiaApp } from '@inertiajs/vue3';
import { resolvePageComponent } from 'laravel-vite-plugin/inertia-helpers';
import { ZiggyVue } from '../../vendor/tightenco/ziggy/dist/vue.m';
import { plugin as formkitPlugin, defaultConfig } from '@formkit/vue';

const appName = window.document.getElementsByTagName('title')[0]?.innerText || 'Laravel';

createInertiaApp({
    title: (title) => `${title} - ${appName}`,
    resolve: (name) => resolvePageComponent(`./Pages/${name}.vue`, import.meta.glob('./Pages/**/*.vue')),
    setup({ el, App, props, plugin }) {
        return createApp({ render: () => h(App, props) })
            .use(plugin)
            .use(ZiggyVue, Ziggy)
            .use(formkitPlugin, defaultConfig)
            .mount(el);
    },
    progress: {
        color: '#4B5563',
    },
});
The slight tweaks are evident on the import and then that same tweak is repeated inside the use() before the app is mounted.
As we need to import “plugin” from formkit and we already have a “plugin” named in our setup() function, it is necessary to give the Formkit imported “plugin” an alias. Then later down the chain of use()’s, we can provide that alias.
Installing Multi-Step addon
What do the docs say?
Here you can check the official docs for installing the Multi-Step addon for Formkit.
TLDR: It suggests the use of a
formkit.config.jsfile, which is fine if you’re just using Vue… but we’re not!
One other thing to note, is that it’s not very obvious that you actually need to install this separately with:
npm i @formkit/addons
The slight difference for Inertia
As you may have noticed, we’ve seen a part of that before. The importing defaultConfig was in our first setup. We will use that to our advantage and do so inline stuff to get where we want to be.
import './bootstrap';
import '../css/app.css';
import '@formkit/addons/css/multistep';

import { createApp, h } from 'vue';
import { createInertiaApp } from '@inertiajs/vue3';
import { resolvePageComponent } from 'laravel-vite-plugin/inertia-helpers';
import { ZiggyVue } from '../../vendor/tightenco/ziggy/dist/vue.m';
import { plugin as formkitPlugin, defaultConfig } from '@formkit/vue';
import { createMultiStepPlugin } from '@formkit/addons';

const appName = window.document.getElementsByTagName('title')[0]?.innerText || 'Laravel';

createInertiaApp({
    title: (title) => `${title} - ${appName}`,
    resolve: (name) => resolvePageComponent(`./Pages/${name}.vue`, import.meta.glob('./Pages/**/*.vue')),
    setup({ el, App, props, plugin }) {
        return createApp({ render: () => h(App, props) })
            .use(plugin)
            .use(ZiggyVue, Ziggy)
            .use(formkitPlugin, defaultConfig({
                plugins: [createMultiStepPlugin()],
            }))
            .mount(el);
    },
    progress: {
        color: '#4B5563',
    },
});
As you can see, we’ve added;
- a CSS import
- an addon module import
- that extra module inside the previously added
defaultConfig
Using Formkit
Now that it is setup, we are free to use the super speedy form building tool to it’s fullest potential, stacking form sections in beautiful multi-step glory. For example:
<script setup>
import PrimaryButton from '@/Components/PrimaryButton.vue';
import SecondaryButton from '@/Components/SecondaryButton.vue';
import { FormKit } from '@formkit/vue';

function clearForm() {
    // Your clear form handler
}

function submitForm() {
    // Your submit handler
}
</script>

<template>
    <FormKit type="form" :actions="false">
        <FormKit type="multi-step" tab-style="progress">
            <FormKit type="step" name="csv">
                <FormKit type="file" label="Spreadsheet" accept=".xls,.xlsx,.csv,.txt" validation="required"
                    help="Upload a csv, xls or xlsx file." />
                <div class="my-6">
                    When a csv file is uploaded here, we will read the heading row so that you can choose from the list on
                    the next section of this form which columns contain the variable values.
                </div>

            </FormKit>
            <FormKit type="step" name="columns">
                <FormKit type="text" label="Columns" validation="required" />

            </FormKit>
            <FormKit type="step" name="rows">
                <FormKit type="text" label="Rows" validation="required" />

            </FormKit>
            <FormKit type="step" name="maxLength">
                <FormKit type="number" label="Max Length" :value="500" validation="required" />

            </FormKit>
            <FormKit type="step" name="submit">
                <SecondaryButton :onClick="clearForm">
                    Cancel
                </SecondaryButton>

                <PrimaryButton :onclick="submitForm">
                    Submit
                </PrimaryButton>
            </FormKit>
        </FormKit>
    </FormKit>
</template>
For the full documentation on actually using Formkit (now that it’s working 😉) click here
Happy Form-Building!